
If you would have asked me at the beginning of my woodworking career if I would be building something like this I would have said you’re crazy. I grew up the with two older brothers and a younger sister, but my sister was an athlete. She was constantly following me around and was never really into the classic girly toys and things, she always wanted to play ball with my friends and me. Turned out she was the best athlete in the family, but I say all this to tell you I don’t have much experience with Barbies or anything like that.
So when my wife came up to me a month ago and said that I needed to build a life size barbie box for our daughter’s birthday I said sure. Then I proceeded to google what a barbie box looks like. I was pretty sure it was pink, but other than that I didn’t know what the barbie logo looked like or the style of the box, nothing. So with some help from google I had an idea, but then business got busy. We’ve been running full steam ahead all summer long, we’ve built custom white oak beams, we’ve renovated an entire kitchen, complete with glass door cabinets on top, we’ve built fireplaces, shelving units, and custom pantries. So the barbie box has been on the back burner, but all of the sudden my daughter’s birthday party was the next day. So now not only did I need to build something I’ve never built before and have almost no familiarity with, but now I need to do it in a single work day.
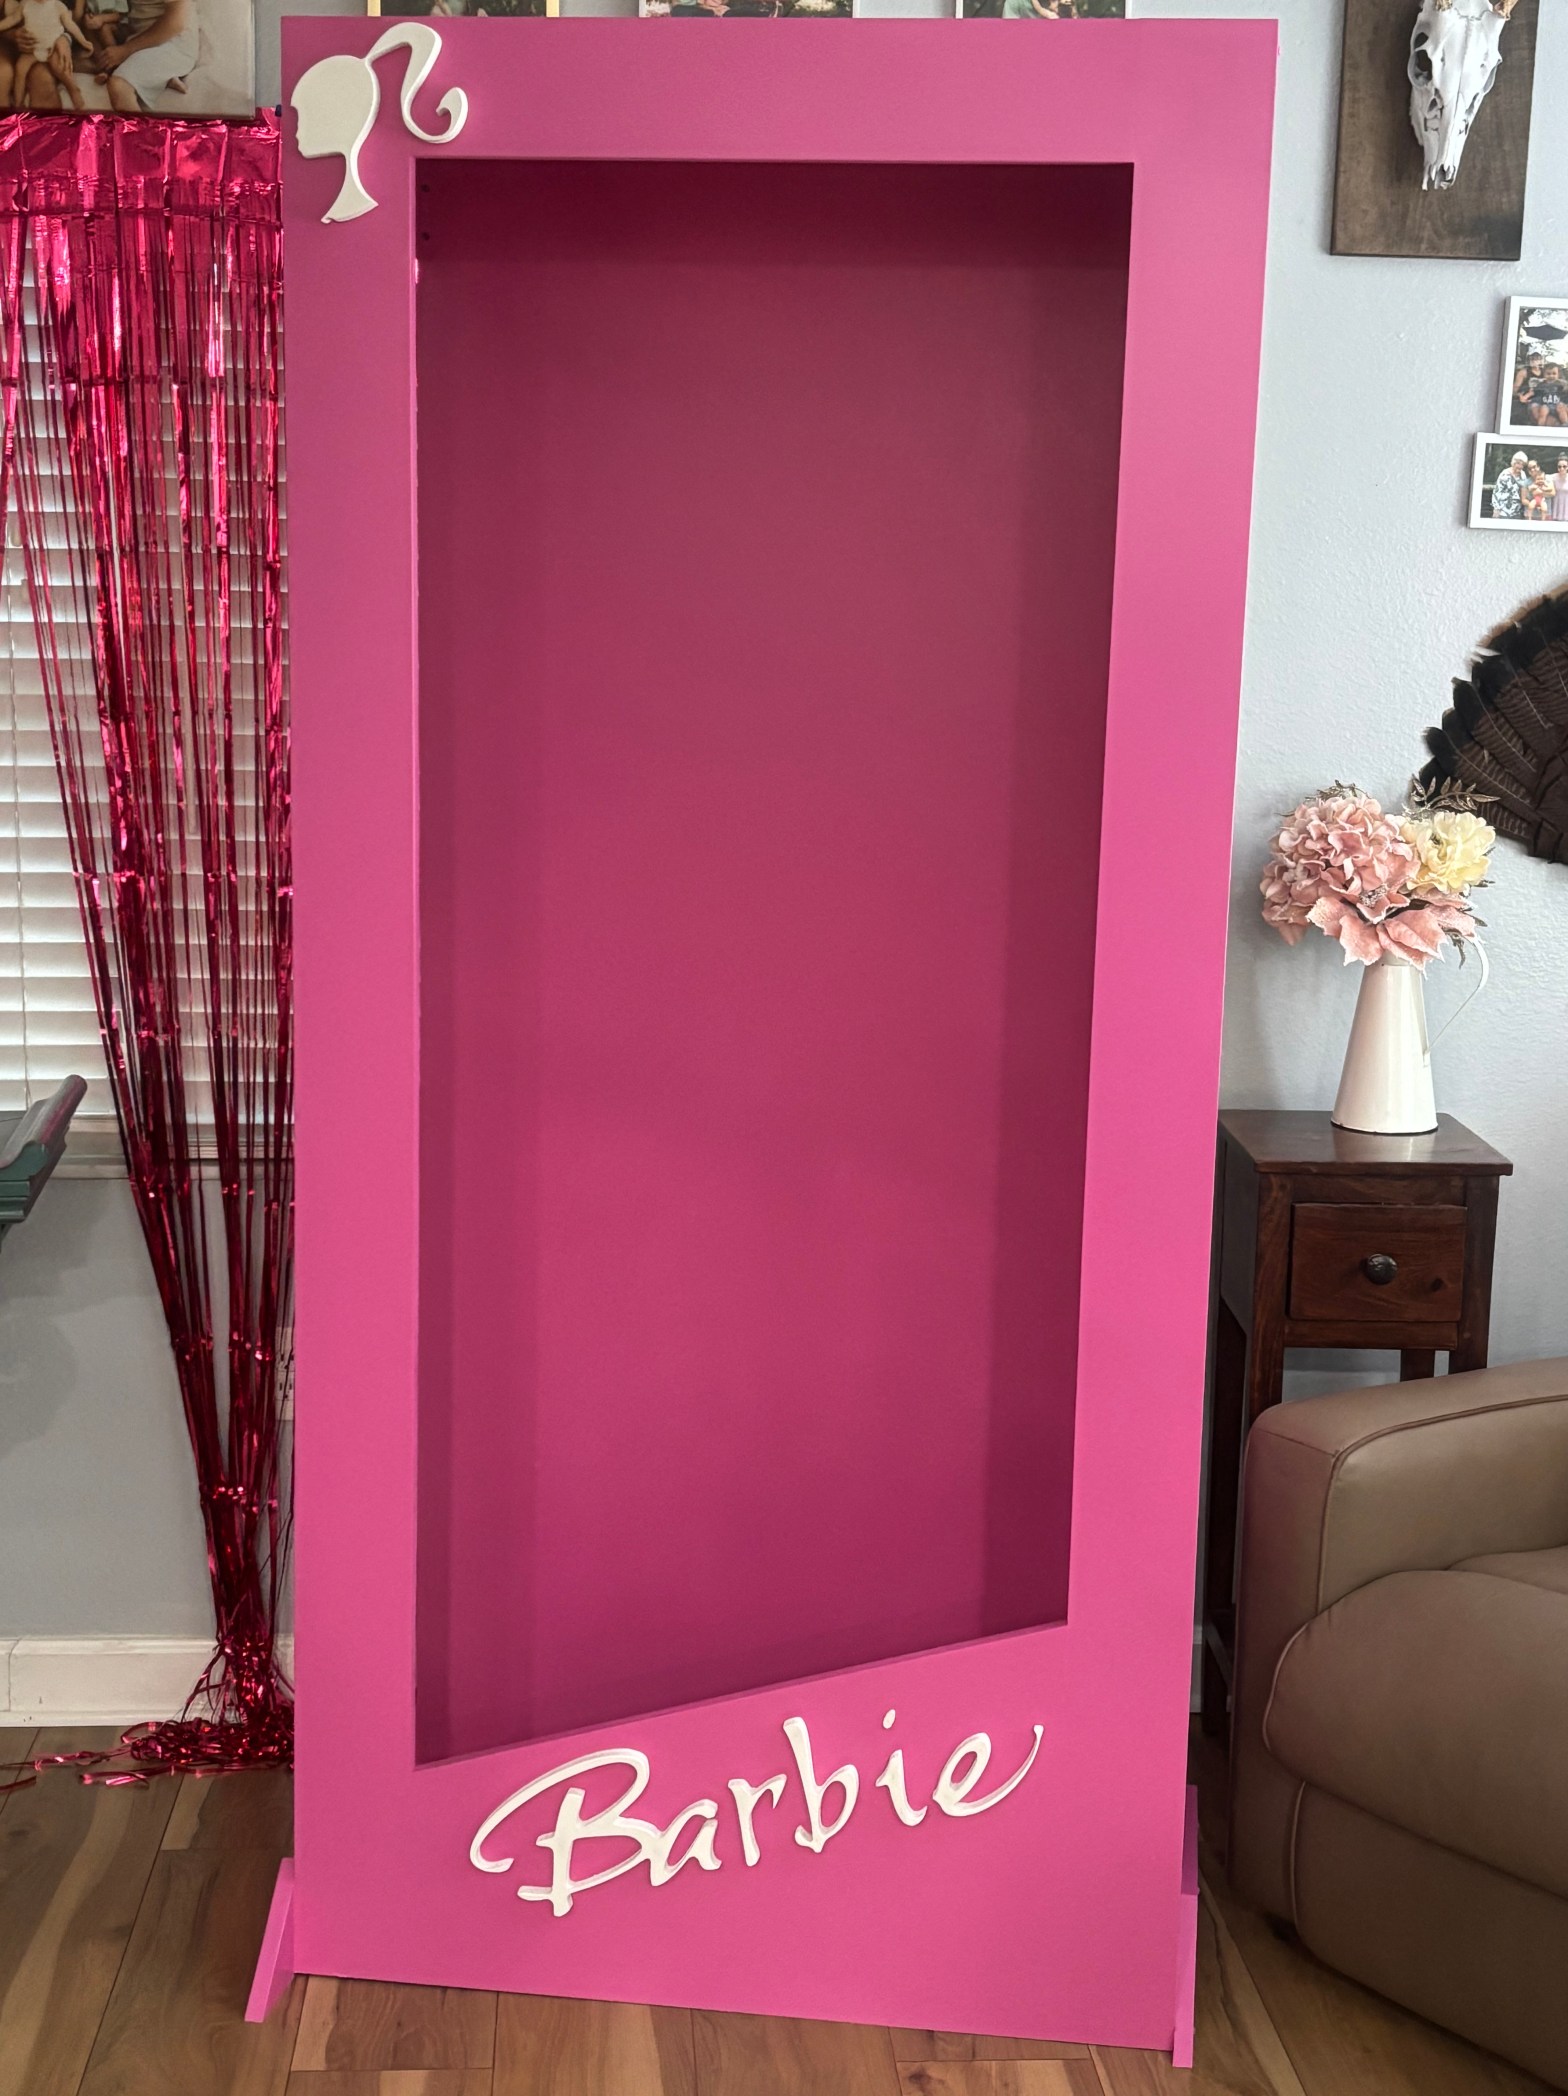
So one work day to build this life size box, I was confident I could get it done. The questions was will the paint dry in time. I started with the logo, found a picture online and cut it out of some scrap MDF on my CNC. Once that was cut I cleaned it up, added a little round over to make it look smooth and sprayed some primer on it. Next it was on to the box, I decided that 6’6″ would be plenty tall enough and basically used the left over to let it determine the depth. So 18″ deep and I went with 36″ wide. This seemed like it would be big enough for a couple people to stand in there and snap a photo. I completely made these measurements up, I was trying to make the most out of my materials and also make it functional, which in the end they worked out well.
The front I found from google photos had a little angle to it, and while some photos showed the pink line following the “Barbie” writing, I decided to just keep it straight and I believe it turned out good. Some glue and pocket holes screws allowed me to keep things moving while the glue will keep all the pieces together, the screws hold until the glue dries. A couple of angled braces on the end keep the kids from tipping it over.
All in all it turned out nice, my daughter and wife both loved it and it was the talk of the party.
Thanks for reading, be sure to subscribe so you catch all of our post when they come out. We’re talking DIY builds, Home Reno tips, and building cool things for your kids.
Be sure to follow and subscribe to our socials, @Crafted_in_Florida on Instagram, tik Tok, and Youtube.
Discover more from CRAFTED IN FLORIDA
Subscribe to get the latest posts sent to your email.
