
Most people spend a good amount of time in their kitchen, between grabbing something to eat, cooking, and just hanging out around the bar or island. I know that my family tends to eat most of our meals at the bar, while dining tables are more for big meals. After years of wear and tear on the doors and drawers the age will show no matter how well they were built. When most people think about remodeling the kitchen they think big money, depending on the size of the kitchen you can be looking at $20,000-$30,000. But there is a way to make your kitchen look new, without paying for a full remodel.
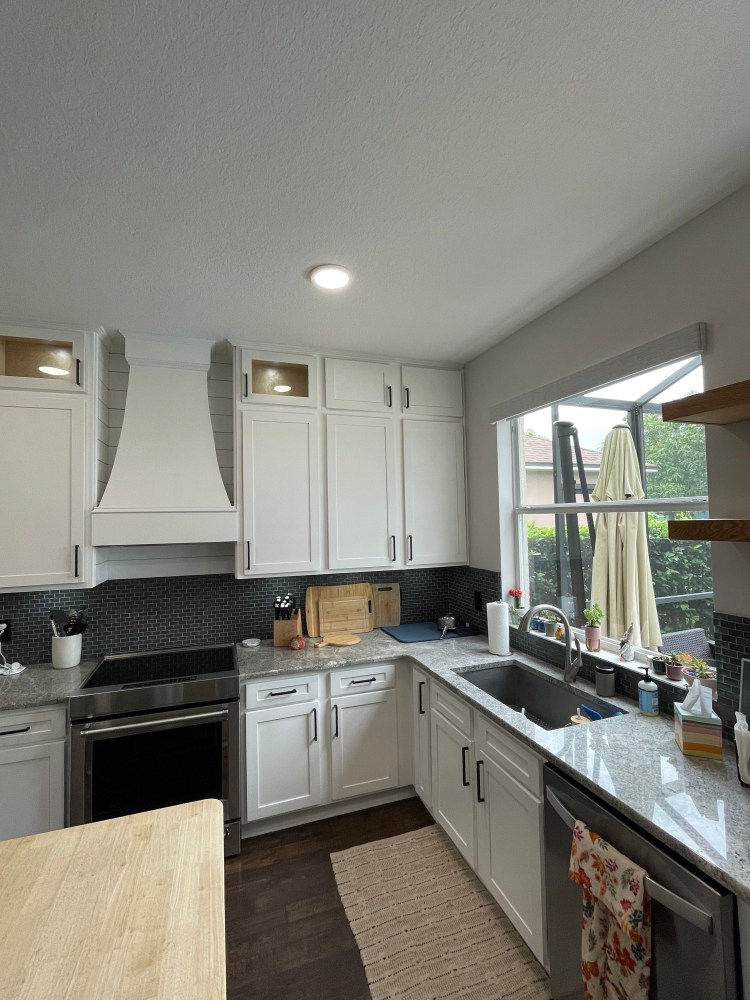
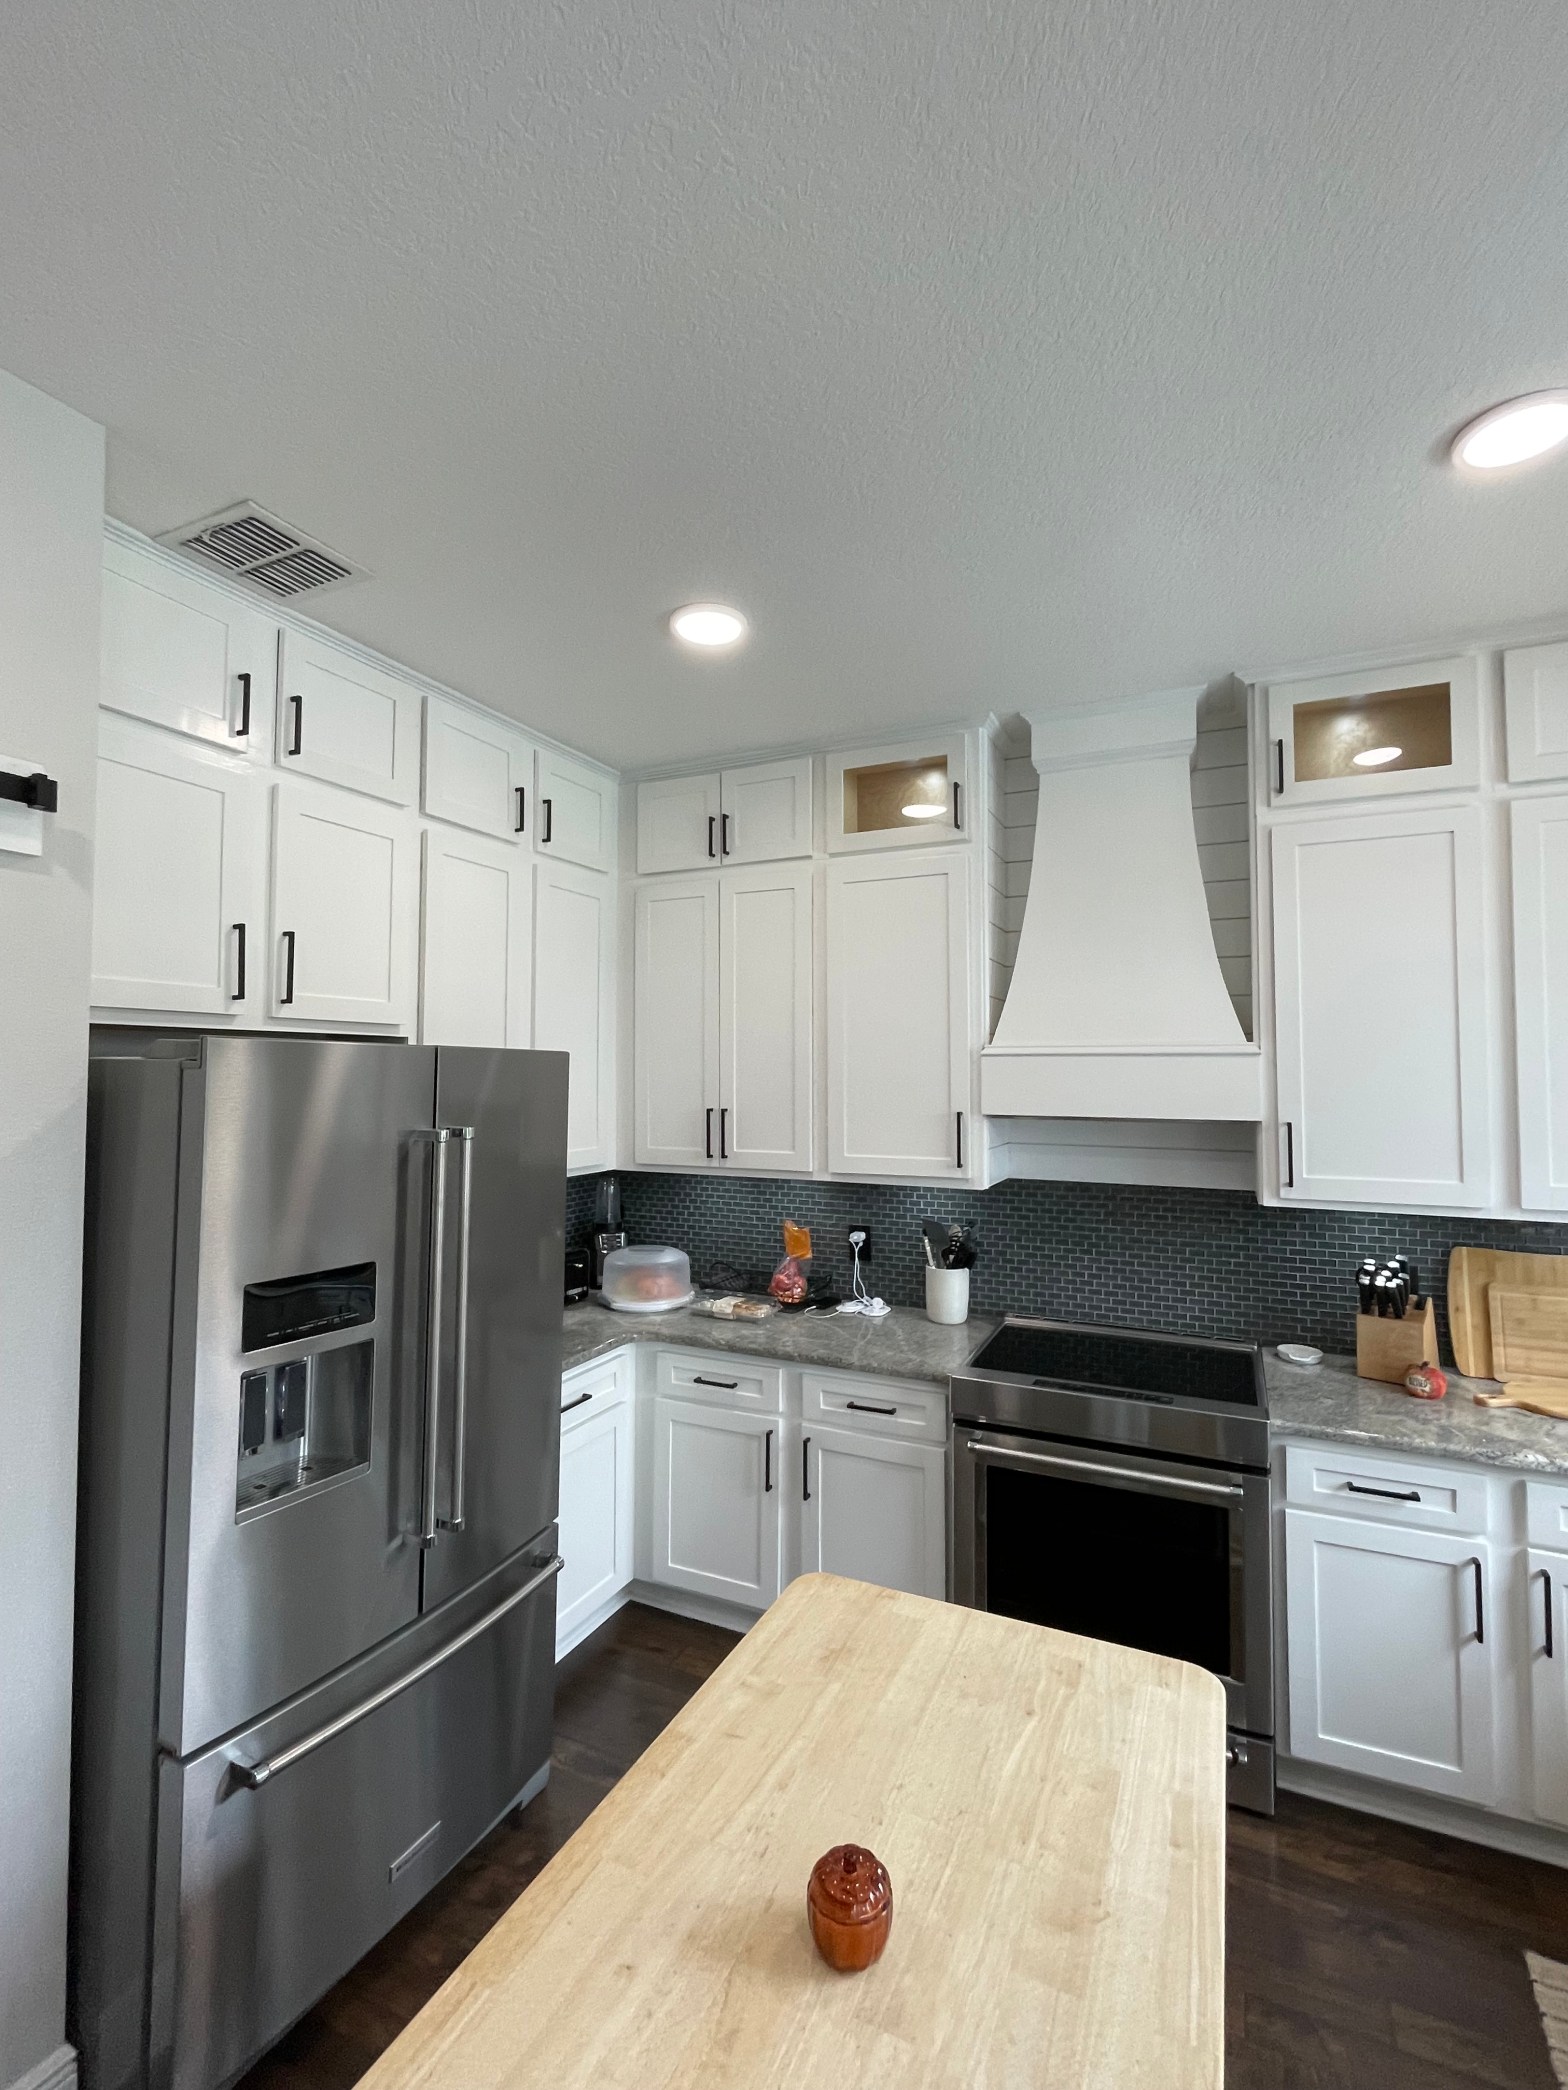
One of the more popular ways to make your kitchen feel brand new is to replace the doors. This really changes the look of things because the doors and drawer faces take up most of the surface area of the kitchen. Going from the 90’s and 2000’s look of the dark wood and ornate look to a simple shaker style look with a brighter color can really transform the space. It will make the place feel like a brand new kitchen, but you save the cost of demo for all the cabinets, and replacing those cabinets. Cabinets are a large part of the cost for any kitchen renovation and if you’re going to go with custom you can expect to spend north of $10,000 on those alone.
When you decide to go with new doors, you need to know that 99% of the time you will then need to paint. Matching new stains to old stains is very difficult, but if you’re patient it can be done. The reason is the stain fades over time, it’s also possible that the formula that was used is different, and on top of all that the species of wood has to be the same. These are all factors in trying to match stains which is why painting is always easier. While it’s the easier option, there is still a process that needs to be followed if you don’t want it to scratch or chip. Don’t skip steps in this process or it will show in the final product.
The first thing you need to do is clean the cabinets, you’d be surprised at how much stuff has stuck to your cabinets over the years. Pieces of food, splattered grease, and who knows what else. Get some degreaser and clean them well. Next you’re going to sand them, this is a tedious process, but it has to be done. Paint won’t stick well to wood that has a clear coat on it. Think about epoxy floors, the reason you do the epoxy is so that things like paint and grease don’t stick. That’s the point of the clear coat finish, to keep the wood protected, you need to get through that in order to get your paint to stick. There are chemicals you can use to strip the finish off of the wood, but always follow their safety instructions and protect your eyes and lungs. If you’re going to skip the chemicals you’re going to want to sand through the grits. With this type of material I’d try to start at 120 grit. This should be rough enough to get through the finish without scratching through the veneer of the plywood.
That is very important, you’re working with plywood boxes, if you sand through the veneer you will have to add filler to make everything smooth. Once you’re through the finish you can move up to 180 to get a smoother surface to work with. 180 is good enough for primer, so the next thing you’re going to do is prep the kitchen for primer. Clean off all of the dust you made from sanding, and begin taping everything off. Get some good painter’s tape because there is nothing worse than your tape coming undone while you’re painting. I personally like Frog tape (link to purchase here), but there are other good brands out there as well. It’s work grabbing the big roll of plastic drop cloth to use for covering the big areas, and you’ll want 2 different types of brown paper for covering the floor and the inside of the cabinets. Go with the thicker paper on the floor and you can go with a thinner paper for inside the cabinets. If you’re spraying (which you should- link to DIY Friendly Sprayer) the particles will go everywhere so make sure you’ve seal off the space, and even when you’re done spraying don’t pull the plastic down until all the particles have had a chance to settle.
For the primer, you’ll want something that has good bonding. There are many different kinds out there, I’ve come to like the Kem-Aqua from Sherwin Williams. It dries fast, is water based which makes for easy clean up, and you get a smooth finish. After your first coat of primer dries, give it another sanding with 180 grit and be sure to clean off all of the dust. Then apply your 2nd coat. I typically prime one day, and top coat the next, but in theory if you get started early you could do it all in one day. Your paint will have instructions on how long to wait between coats and before you top coat. It is important that you don’t go too heavy with the paint, you’re painting something that is sitting vertical. If there is excess paint you will have drips and they are a pain to deal with. Keep some distance between the spray gun and the cabinets and keep it moving.
For the top coat, don’t cheap out on the quality of paint. Bad paint won’t hold up to the wear and tear of everyday use in the kitchen. Get some good quality cabinet paint. The other thing to consider in the paint selection is the cure time. Paints have a cure time, especially those with additives for extra strength. Some paints have a cure time of weeks, which means in the time between you finishing the painting and it curing completely it is vulnerable to damage. The particular paint I use has a cure time of 24 hours. Now it’s dry to the touch in 45 minutes, but it has completely cured within 1 day. This helps put me at ease knowing the paint will hold up. Once all of the painting is done and you’ve done the same for your doors you can hang those doors up and it will feel like a whole new kitchen.
This is a labor intensive process, and the paint will cost you hundreds of dollars, not to mention the sprayer. And you’ll be surprised about the cost for good painters tape. But if you have the patience, some skill , and the know-how it can be done. If you’d prefer a professional get it done for you and you live in the Central Florida area reach out to us and we would be happy to help. Thanks for reading and if you enjoyed it or learned something subscribe to the news letter and share it with your spouse who thinks the kitchen needs to be updated. Be sure to follow us on all the socials @Crafted_in_Florida.
Discover more from CRAFTED IN FLORIDA
Subscribe to get the latest posts sent to your email.
