

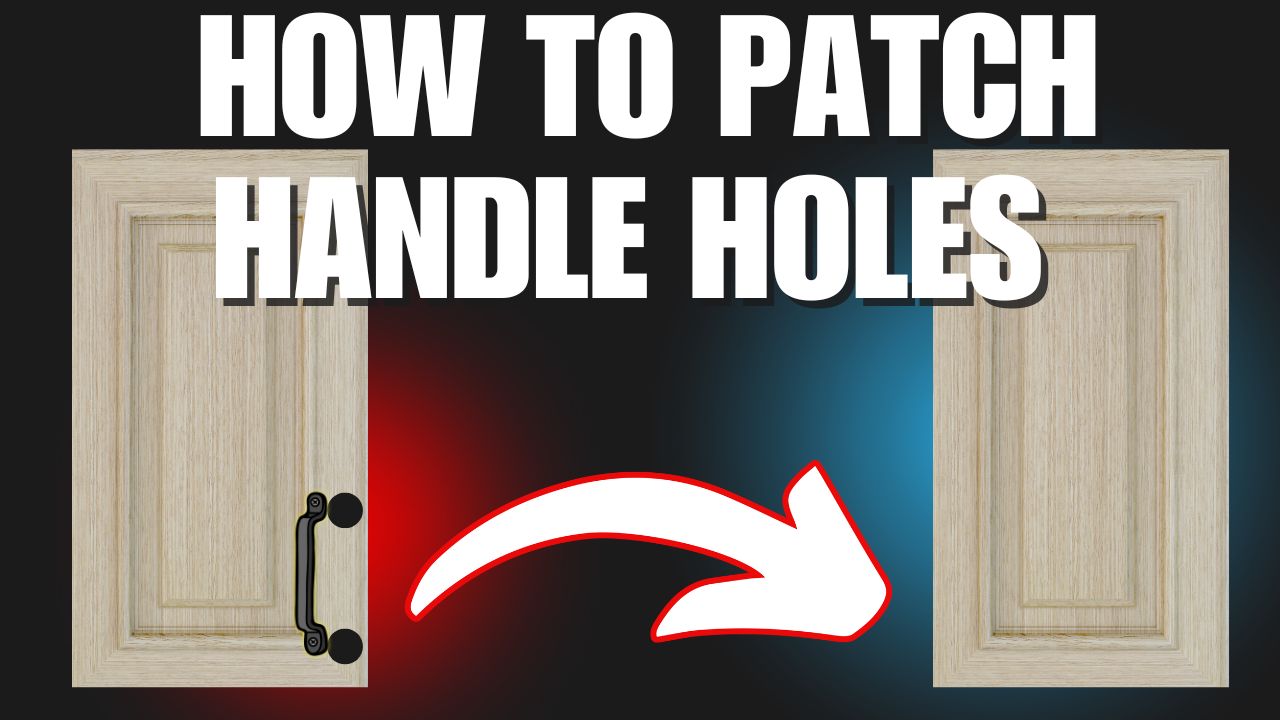
When styles change in the kitchen, typically handles/pulls will change too. It’s a quick way to give the kitchen a new style, but the handle holes don’t always line up with the new ones. Rather than buying all new doors, there is a way to patch those holes and get a clean new look to drill new holes for the new handles. Keep in mind this method is most effective with painted doors. It can be done with stain grade doors, but you’ll need to use the same species of wood as the doors and line up the grain.
Once you’ve taken the old handles off we need to measure the holes. Typically those holes will be about an 1/8th of an inch. Once you’ve confirmed that you can either buy a dowel at your local hardware store or you can make your own. I made my own in this video by simply ripping a piece of wood into an 1/8th block. I then broke it into a more manageable size to fit into my drill. The piece only needs to be about an inch in the end so anything larger than that works. I then tighten the chuck around the squared piece and grab some 120 grit sandpaper. Holding the paper tightly to the wood I begin spinning the drill and it will easily sand the wood into a round dowel shape.
The next step is to have some wood filler and glue near by and prepare to fix the dowels into the holes. I first test fit the dowel to make sure I can get it in there, but also that it’s not too loose. Once this is confirmed I apply glue to the dowel, secure it into the hole, and add filler around any space that may still be open. I like to leave 1/4″ or more out either side of the door to ensure I have complete filling. Once this is done for both holes let it dry for several hours or ideally overnight.
Once it’s dry if the piece stick out long enough to cut them off, use a flush trim saw and a scrap piece of cardboard or playing card to trim the dowel close enough to the surface of the door to sand smooth. With all of the dowels trimmed you can begin sanding. Work through the grits and be sure to clean the surface well before painting. Refer to this article for the complete sanding process: https://craftedinflorida.com/2025/01/29/how-to-do-it-right-the-thing-that-nobody-likes/
Thank you for reading the article, if you found any value in this please subscribe to the email list. This will keep you informed whenever the next article comes out with the weekly newsletter. The newsletter will have the article, a news story relating to woodworking or construction, and a tip of the week. We look forward to seeing you in the Crafted In Florida Club!
Discover more from CRAFTED IN FLORIDA
Subscribe to get the latest posts sent to your email.
