

This title may seem like the opposite of what you were expecting to read on a website that its about building things. “The Project That Won’t Break” ? Micah….. Your projects aren’t supposed to break, you’re supposed to be building, aren’t you? Well in this case this project required that I break stuff before I can build stuff.
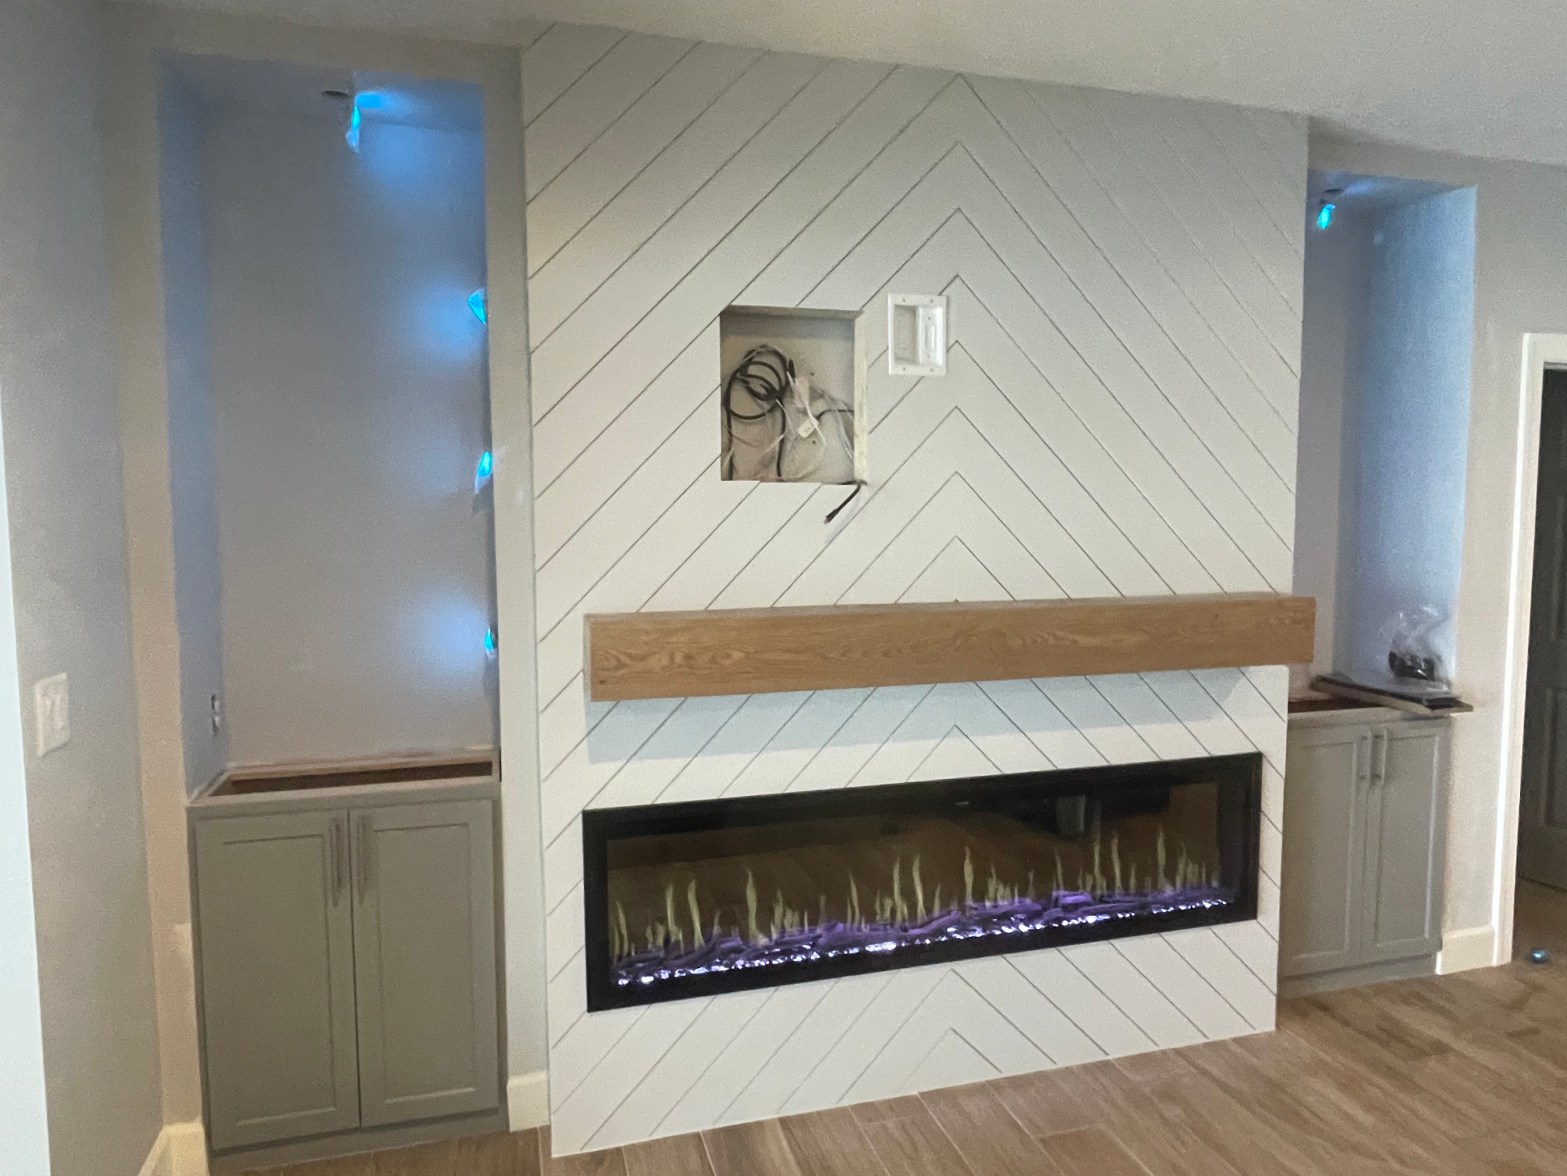
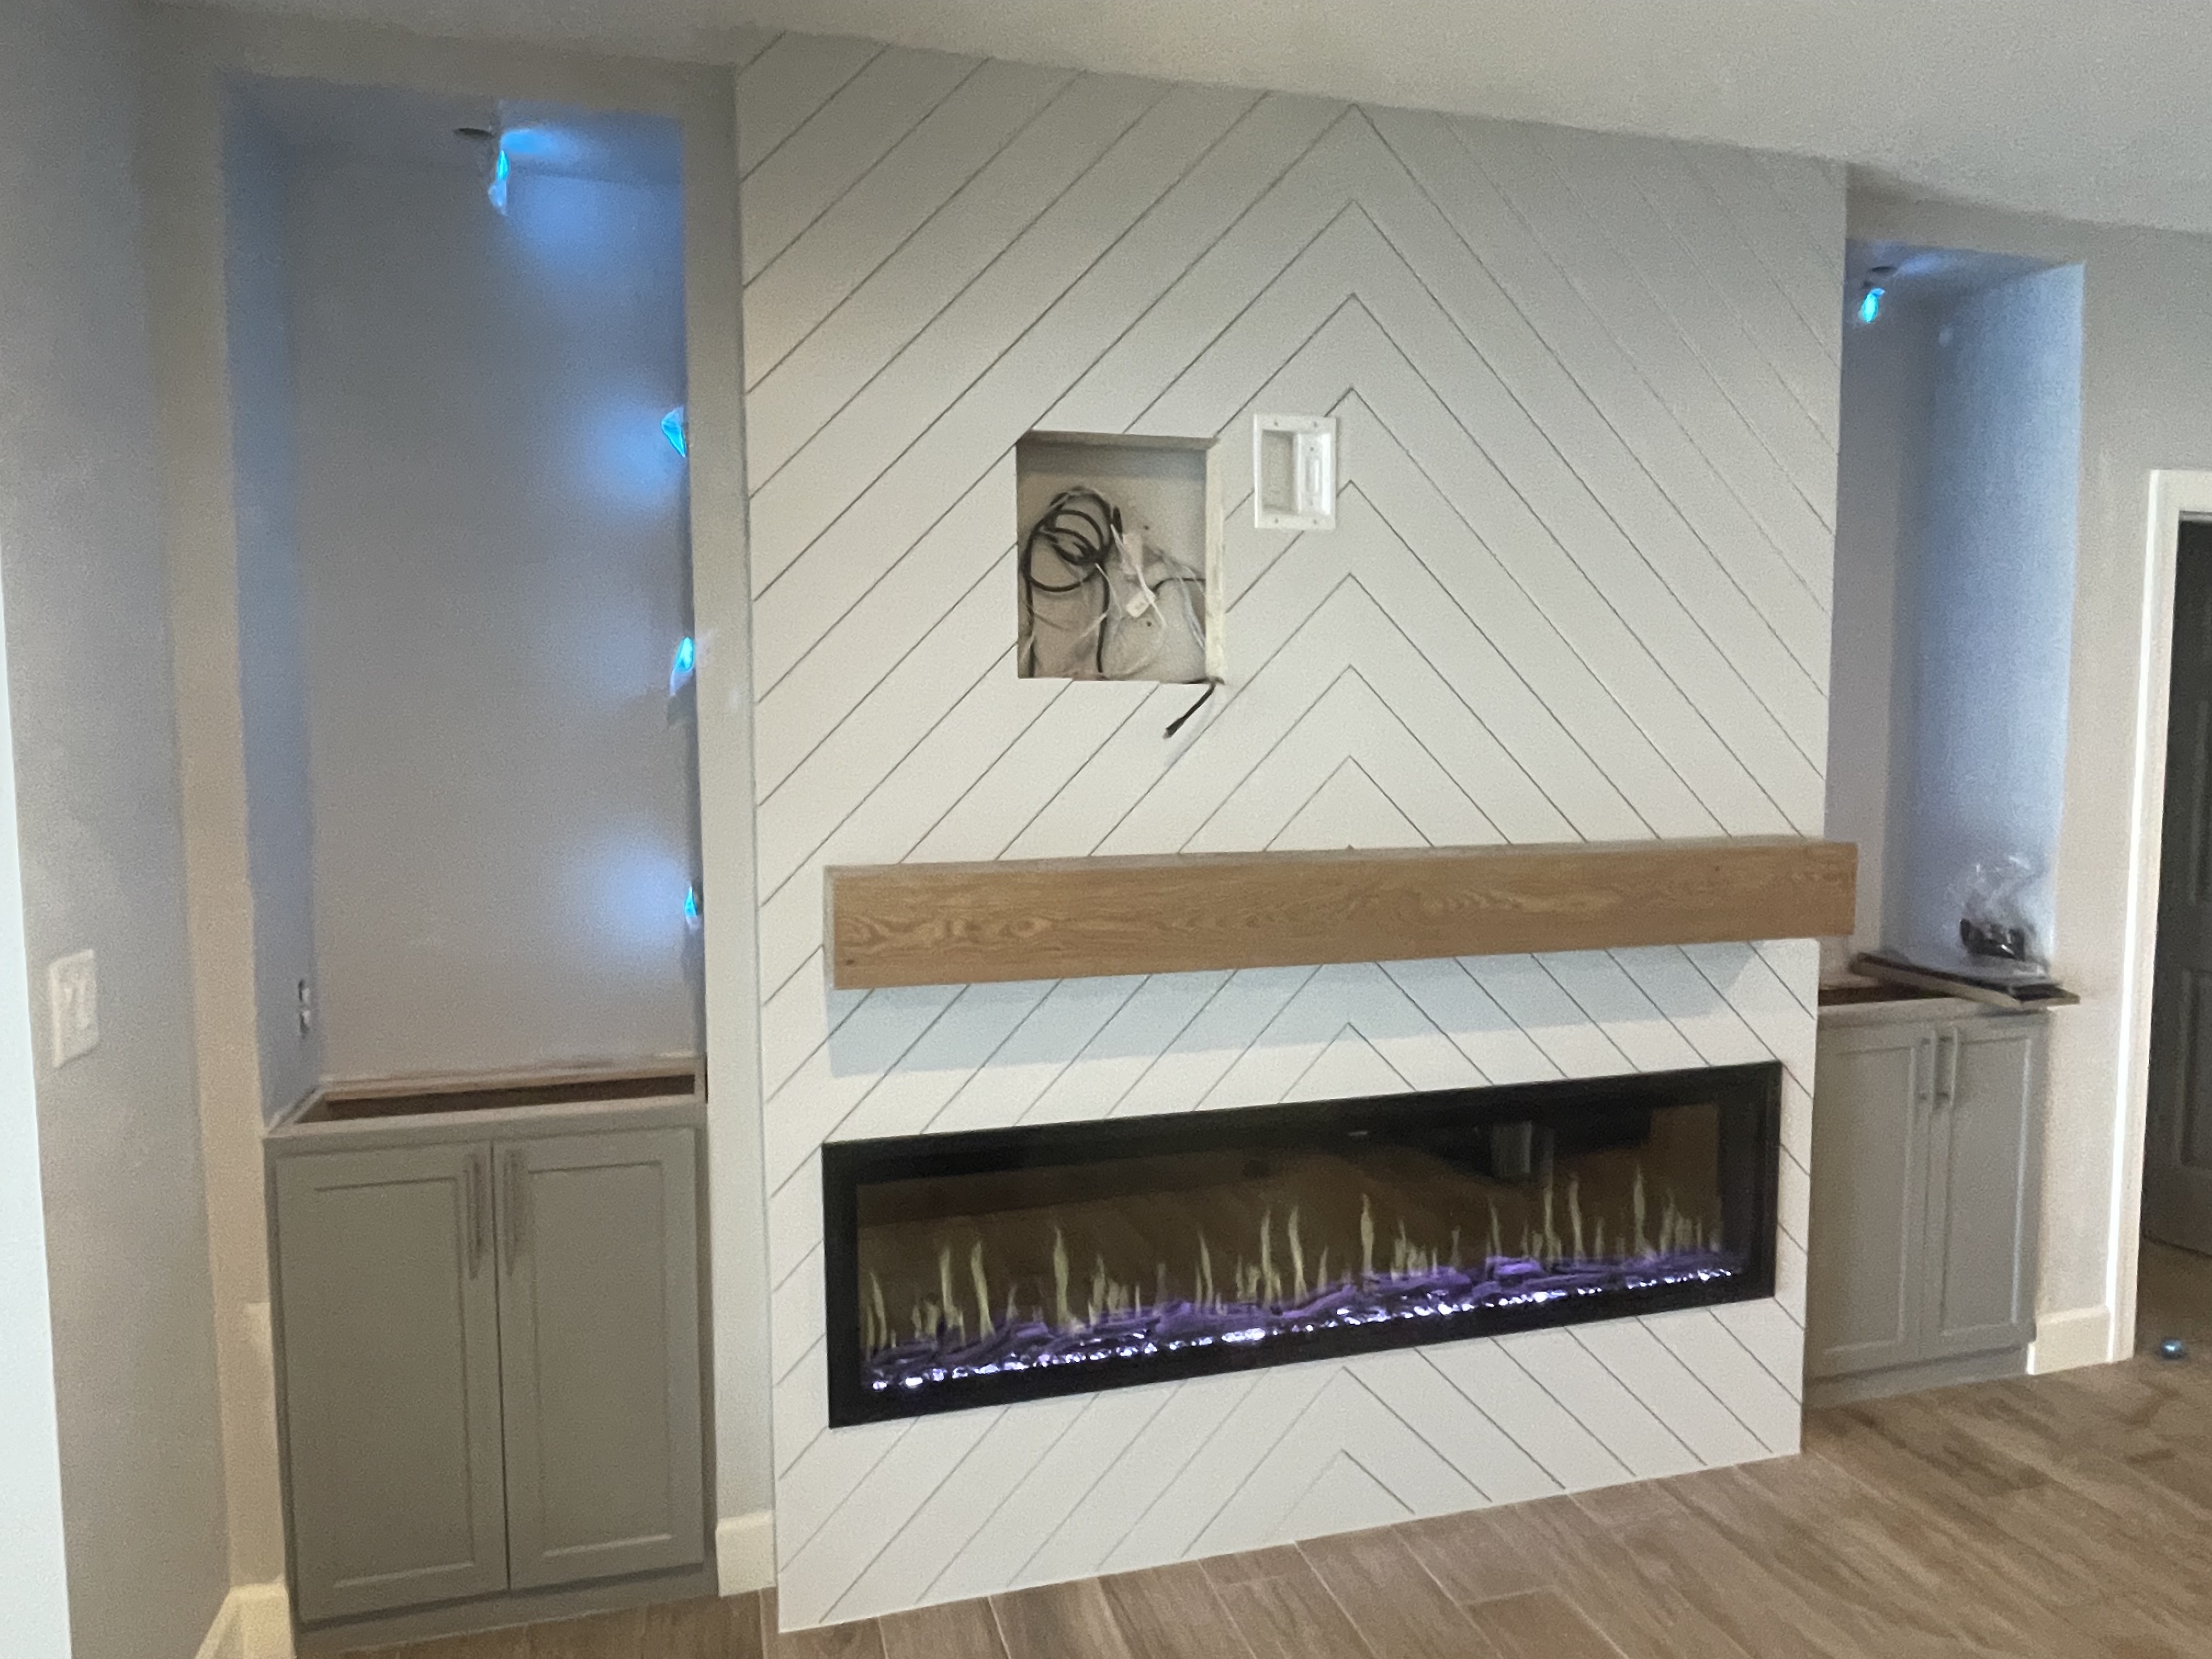
This project has been in the making for a couple of months now, the planning began back in October, and there was some hope that we’d be able to squeeze it in before Christmas, but that 20’ fireplace stood in the way. That project ran long and this project I knew would be no cake walk, so we settled on building the cabinets, shelves, and mantles before the holidays and plan on installing after the first of the year.
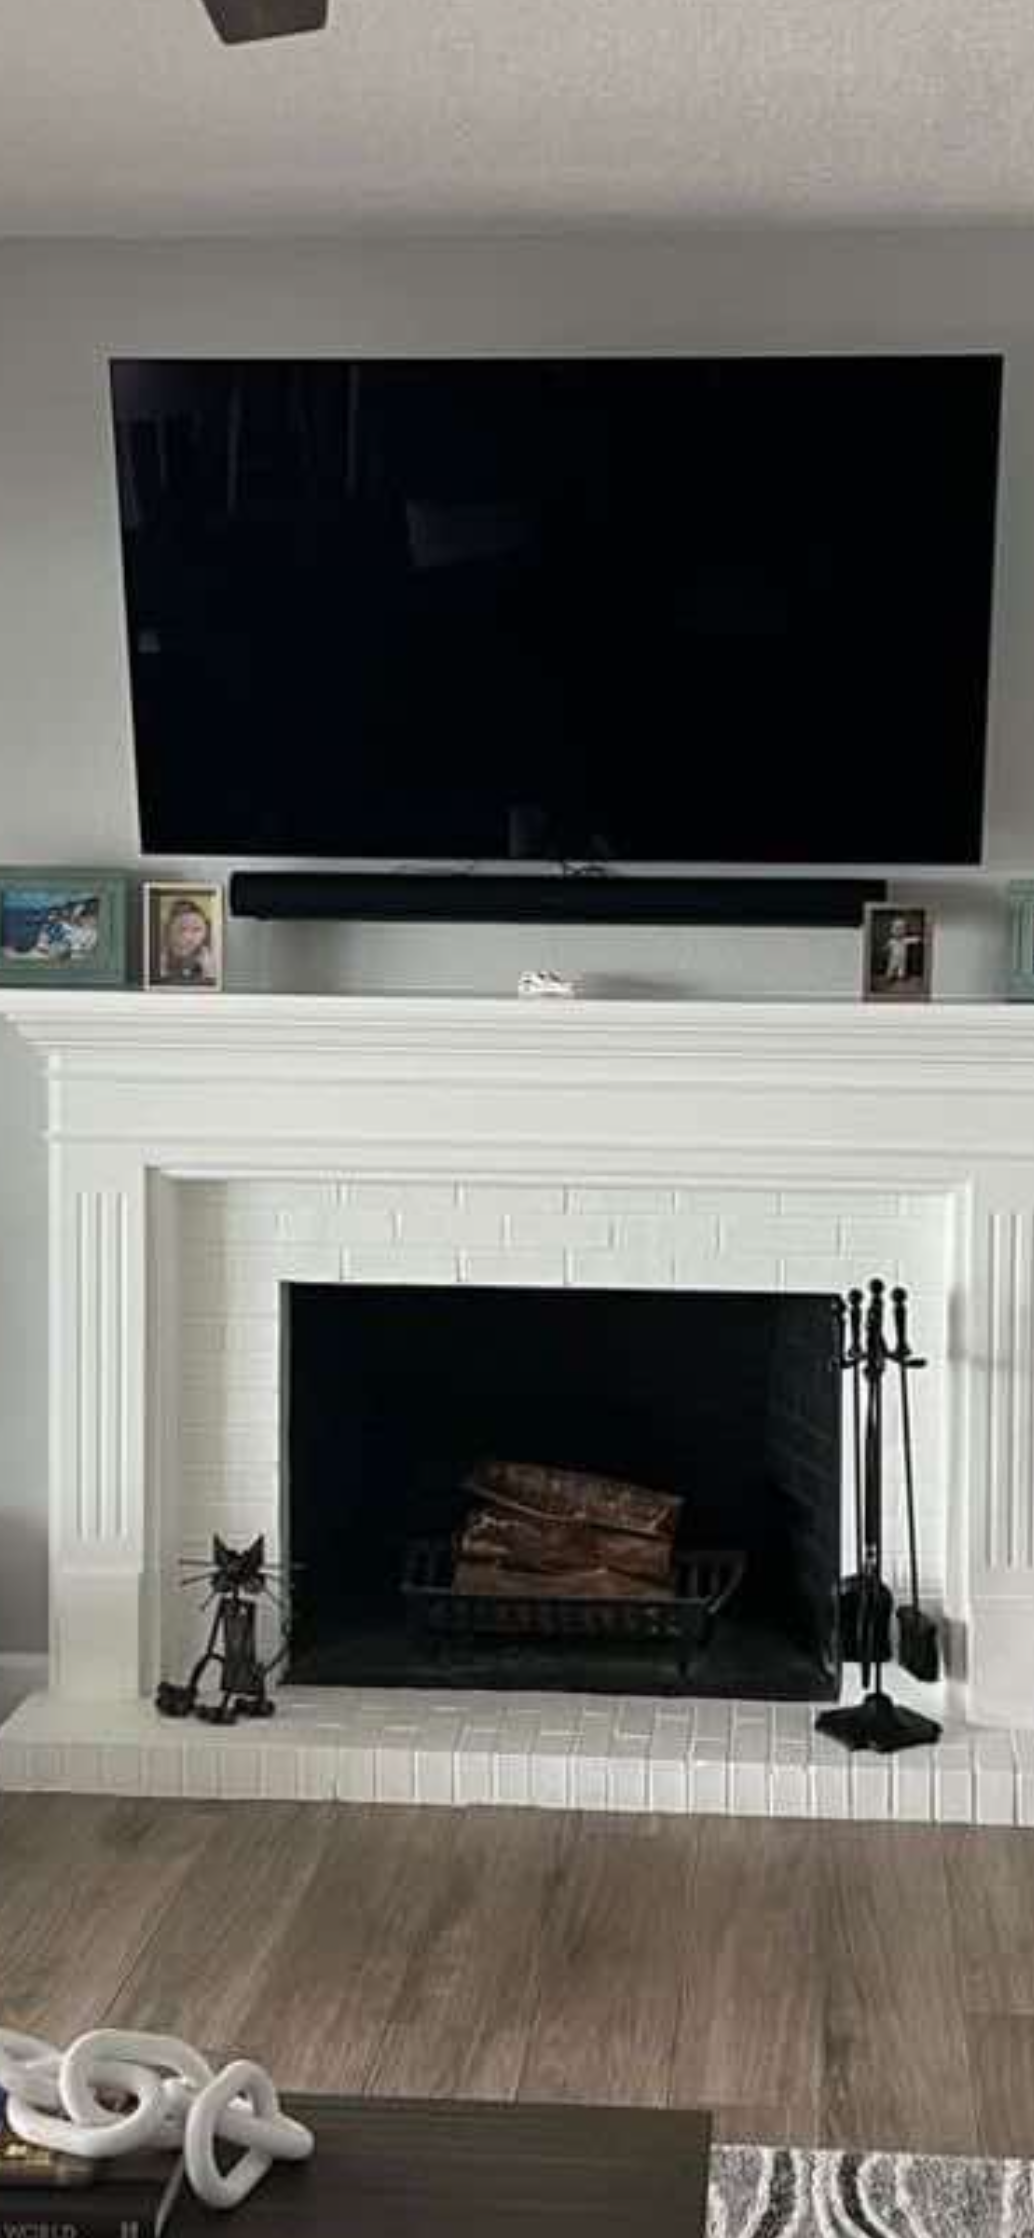
Going into the install I was really pretty good, one might even say optimistic, borderline gitty. I was ready to go, a simple project: frame out a fireplace, install some cabinets and shelves, and just knock out a couple of pieces of drywall. Well that plan went about as well as Ricky Bobby’s first drive after his crash (Credit Talladega Nights, watch it). That’s about how fast I felt like I was moving. The first thing to do was knock out this brick hearth on the old fireplace. I’ve done some minor brick fireplace demo, how hard could it be? Cement, like as hard as cement. The end bricks on this one layer high brick hearth came out pretty smoothly. A couple small taps of the masonry chisel knocked the piece loose and some prying and wacking with the rubber mallet got the bricks out. I was feeling good, like hey if this keeps up I’ll be done early, I’ll be able to work on some personal projects……The hope quickly faded for the cruel mistress known as reality. The reality of the difficulty of the demo for this hearth hit me about 3 bricks in. This thing was so solidly cemented to the floor I didn’t think that it was going to come out of this house.
Well I spent 4 hours working on that hearth, before I threw in the towel. I gave it everything I had, bending chisels, breaking handles, likely breaking my thumb with a blow from the mini sledge hammer. Worn and bruised, covered in dust I knocked on the door of the customer’s office and explained we were going to have to go with a plan B. Luckily having been through a similar situation, when I was just getting started working for a remodeler I knew about the tool known as the roto hammer. Despite the name this is actually considered more of a drill than a hammer, though I believe the words “mini-jack hammer” are a better description of the functionality of this tool. So with this tool in mind I headed to everyone’s favorite discount tool store, Harbor Freight! Now if you’re reading this thinking “You buy your tools from Harbor Freight?!”. I would encourage you to watch this YouTube video I put out explaining when it is appropriate and when it is not appropriate to “Do It For Less”.
With a new tool in the truck, at about $180 cheaper than the other big box stores, I headed back to tackle the rest of the hearth. Just as expected the tool made all the difference. I knocked out the rest of that hearth and cleaned up the mortar off the foundation with ease, in less than an hour. Now that the first major hurdle had been cleared I moved on to the next demo part. I needed to make a hole in the drywall the size of the cabinets that I had built.
At first it seemed easy, a couple of measurements, a laser level to make sure I’m cutting straight and an oscillating tool with a fresh blade made quick work of it, that is until I went to cut out the back side which had a closet in it. This closet had what seemed like a nail every 5 inches throughout the entire piece. Prying this piece apart, without completely demolishing the thing, because I needed to save about ½ of it so that it could remain a functional closet. This was a challenge and in a tight space that had a toilet behind me and drawers that didn’t seem to make any sense and barely fit in the space to begin with.
After hours of fooling around with this piece I was finally able to get to the point where I could break through the wall and see the other side. As I’m tearing down the 2 sheets of drywall and a layer of plaster I realize that the inside corners of the wall have a metal lathe like materials used to create the inside 90 degree corners. This was of course just an absolute blast to deal with as I was trying to avoid ripping the side walls, because those were going to stay. Eventually it was achieved and I had the joy of getting to repeat the process on the other side of the new fireplace that I was building. The 2nd side, luckily didn’t have quite the issues, but the extra layers of drywall and metal lathe were there as well.
This may have seemed like a whiney complaint or a woe is me type of article. I hope it didn’t come across that way as that was not my intent. The goal of writing this piece is to firstly tell the story about the crazy things that you come across when demoing anything in a home, especially old homes. The second thing I hope you take from this is that you have to anticipate for crazy things to happen during projects. Now you wouldn’t expect something like this to happen when you’re in a new build or a project that doesn’t require demo, but in construction there are always bumps in the road, curveballs, snafu’s, and FUBAR situations. (look it up). You have to anticipate what you can, have you customer aware of some of the possibilities, and even when it’s not going as quickly as you’d like, still take the time to do things right.
I hope you enjoyed this article, if so please subscribe and I will be sending out a weekly newsletter talking about the things going on around the shop, tips that may be able to help you in your woodworking journey, and sometimes funny or crazy stories. Thanks for reading, now go build something cool!
Amazon links to tools and other items used in the shop!
https://amzn.to/48CWVOm. -Titebond 3 glue
https://amzn.to/4hDlsqL – Stanley 25’ Tape
https://amzn.to/3UDVTvJ – total boat thick set epoxy
https://amzn.to/4egVKWa – Dewalt drill
https://amzn.to/3UFqg57 – Dewalt table saw
https://amzn.to/3YW2Drv – Kreg Pocket Hole Jig
https://amzn.to/4hMeTSO – Kreg Cabinet Hinge Jig
https://amzn.to/3YAANzp – Dewalt jig Saw
https://amzn.to/4fzdTzp – Clamps
https://amzn.to/4hxMnUR – 2 Hammers Set (kid size)
https://amzn.to/3CjKN91 – Feather boards
https://amzn.to/3USvv1l – Milwaukee Detiail sander
https://amzn.to/3UXXvkd – Dewalt orbital sander
https://amzn.to/4914Q8k – Dewalt palm router (BFD)
https://amzn.to/423yzvM – Titebond CA Glue Activator
https://amzn.to/3WcCG4X – Titebond CA Glue
https://amzn.to/426CCHQ – 3M Sandpaper 220 Mesh
Discover more from CRAFTED IN FLORIDA
Subscribe to get the latest posts sent to your email.
