
It’s time! My little girl is graduating out of her crib and it’s time to build her a big girl bed. When she was born I built a bed for her older brother, allowing us to pass his crib on to her. Now it’s time to make her a bed of her own. My wife gave me a picture of the style she wanted it to look like, my girl like most little girls is into princesses and the idea of the princess castle bed was an easy choice. Now that I had a picture and an idea it was time to begin planning out the bed.
I begin the planning process by getting the dimensions of the mattress. Knowing what the standard size of the mattress is will allow me to base all of my other measurements off of that. I know that I will need a staircase for her to be able to get up to the bed and I want there to be storage underneath the bed with an area to play under the bed as well. A pair of base cabinets that have open shelving with a space between them to make it feel like a fort for them to play in.
Now it’s time to start building, I begin with the cnc machine. I found a couple of free SVG files of castle parts so I began by cutting those out of some ¾” mdf. The pieces then get flush trimmed and prepped for sanding. After the castle pieces are cut out I go ahead and take some 4/4 white oak that I’m going to use for the stair treads and add roundovers to the top and bottom of the front edge. I also cut some smaller pieces that I will use as the railing on the sides of the bed.
With the trim and castle decor ready for sanding I turn my attention to the cabinets. The cabinets are made from ¾” plywood and begin with some larger pieces that are the width of the bed and the height that I want the base of the bed to be. After the large pieces are cut to size I rip down a sheet into 12” strips that I will use for the tops, bottoms, and uprights of the cabinets. A few more pieces are cut to size for adjustable shelves.

Once the cabinets are complete I cut the pieces for the outside of the bed frames. This is also cut from ¾” plywood and is edge banded for a cleaner look. Simple pocket hole and glue joinery allows for quick work. The main support structure will be 2x4s that I screw together with 3” screws. Three long pieces and four stretchers work to support this bed, then I can rip some more pieces of plywood for the bed supports so that the mattress doesn’t sag between the 2×4’s.
The last piece of cutting that I need to do before finishing is the skirt board for the staircase. This piece will house a set of motion sensor lights so that if my girl gets up in the middle of the night she will have lights on the stairs so she won’t fall down. I take the piece that I’m going to use and add my dado stack to the table saw and cut a dado the length of the piece. This dado will allow me to place the lights in the slots and integrate them into the stairs. I have also cut a pair of stair stringers to hold the stairs in place.
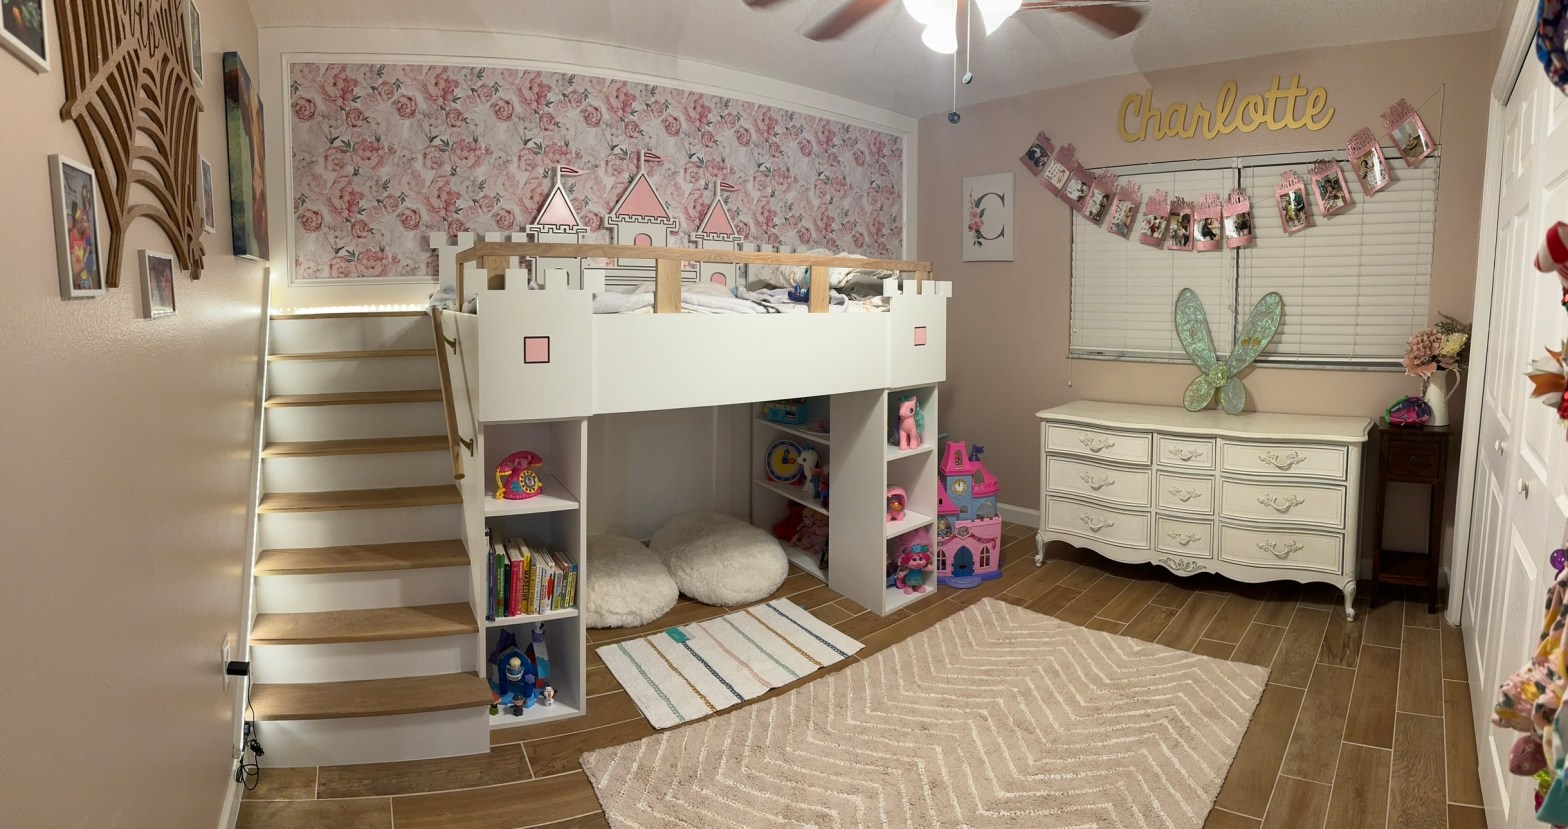
Once everything is cut, it’s time to begin the finishing process. Sanding everything and then priming and painting. The wood finish will receive Rubio Monocoat %5 smoke for a light wood color. Once all of the painting was completed it was time for install. Now in the video I included that details for how I redid the floors in her room as well, but for the article I will skip that and will write an article specifically about tile floors another time. Install consisted of setting the cabinets in place, adding the 2×4 framing, placing the bed frame around that, mounting the stringers, then the treads and risers, and finally running the lights. It was a great project and one that I’ll actually get to enjoy because I’m not remodeling my daughter’s room again until she outgrows that bed!
My little girl was so happy to see her new princess bed, she plays all over it with her brother all of the time!
Thank you for reading, and if you haven’t yet please subscribe so you can be notified whenever we post a new article or upcoming news!
Discover more from CRAFTED IN FLORIDA
Subscribe to get the latest posts sent to your email.
