
Crafted In Florida

The Design
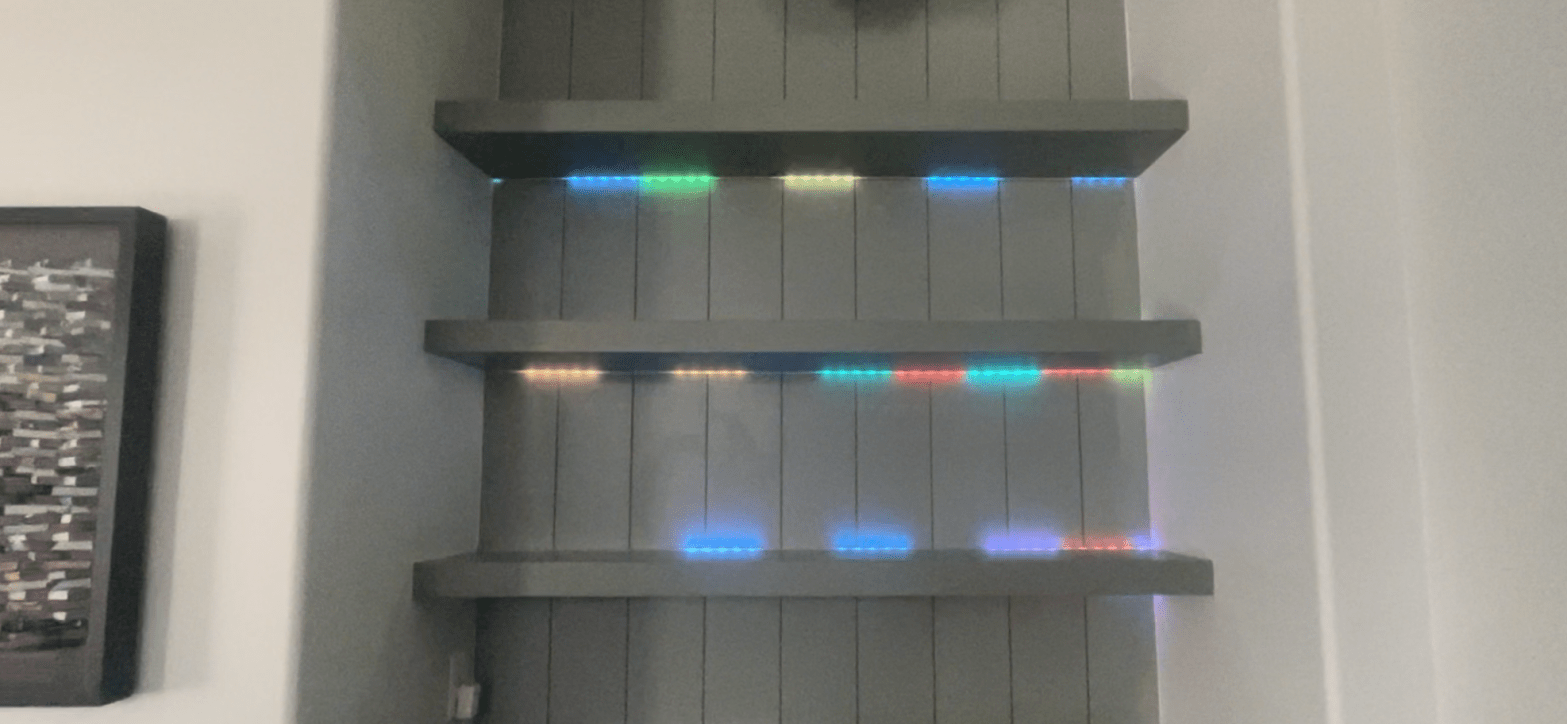
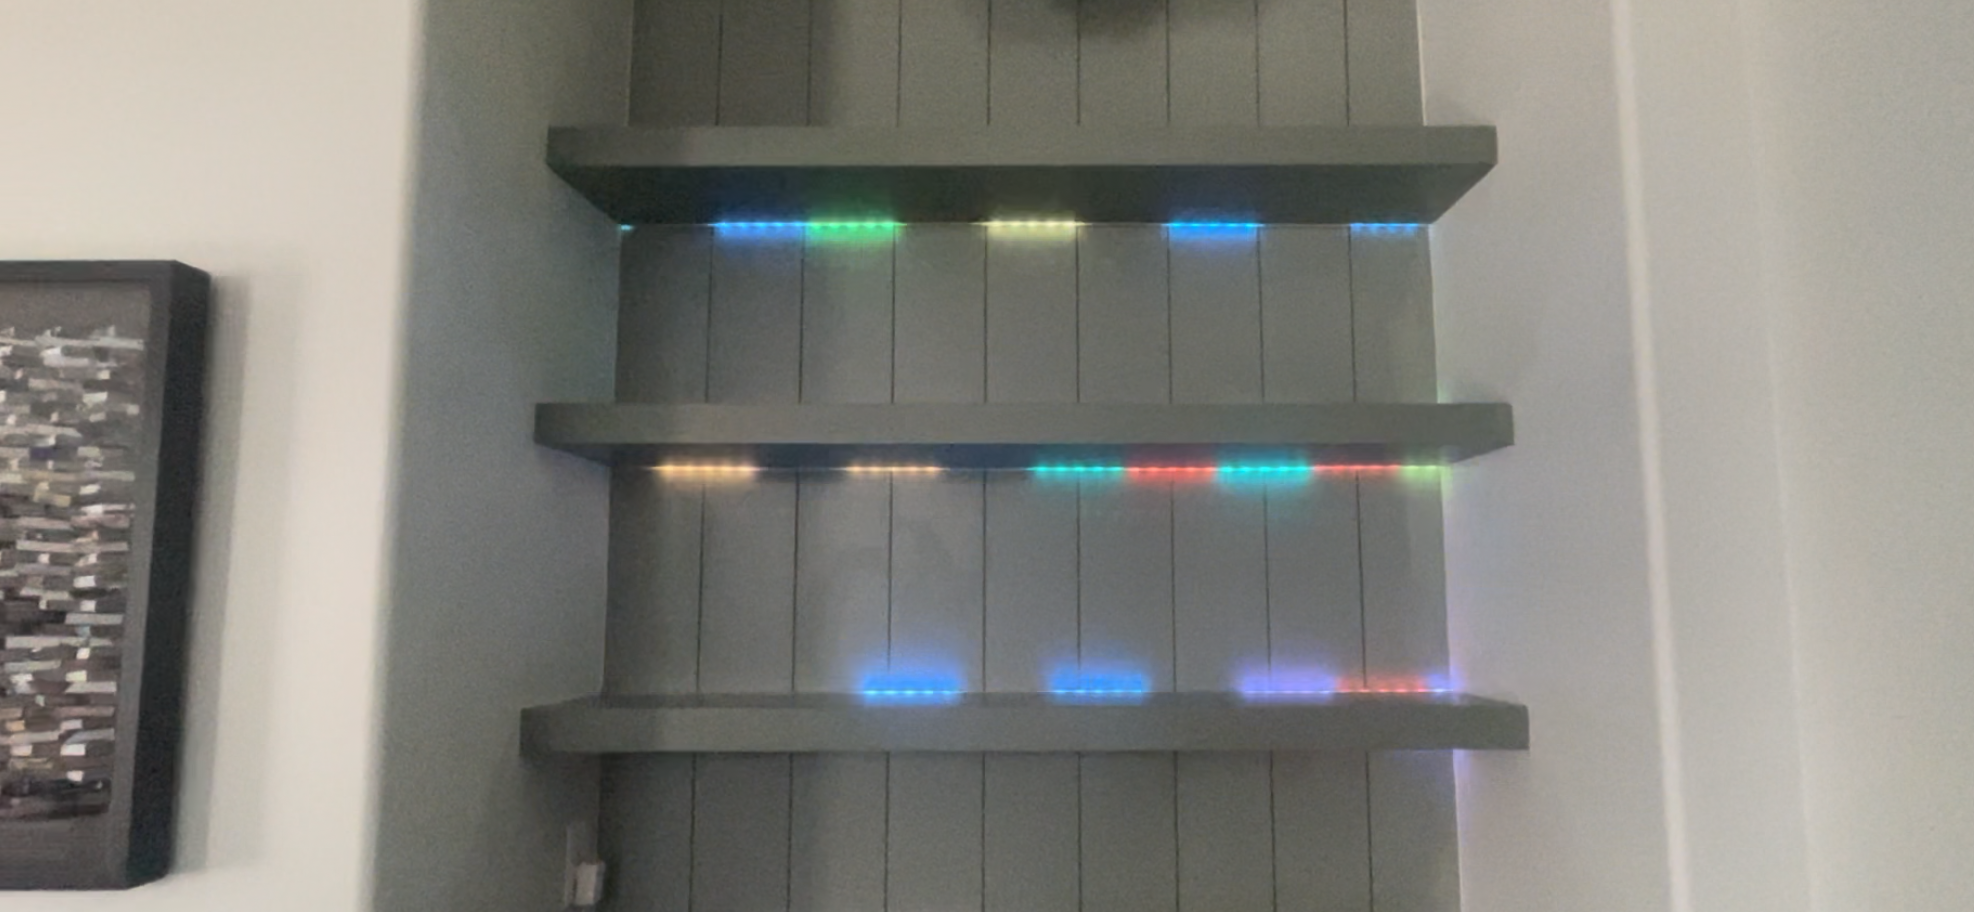
The customer had a space set up for a dry bar. At the time of the construction they had a mirror and wine rack. The plan was to get rid of those items and add something with an updated style. The plan was to add some floating shelves, a shiplap backdrop, and some lighting.
The Process
The process began with the floating shelves. The floating shelves start with some ½” plywood and some 4/4 maple. The maple started with ripping the stock down to size, then run the pieces through the planer to get some fresh faces. With clean faces on the maple the next step was to cut a rabbit out of the back side of those pieces. I accomplished this with a table saw and a dado stack. I used a jig that I made to cover my table saw fence so that I can butt the blades of the dado stack up against the wood that now covers the fence so that when I run the pieces against that fence I will be able to take the appropriate amount of material out from the maple.
Now that the shelf faces have rabbits on the top and bottom I can rip the plywood down to size. The final depth of the shelves is going to be 12”, so the plywood would be ripped down to 11-⅝”.The next step with the plywood was to pull out the dado stack again and rip another rabbit in the back of the plywood that will house the channel the led light strips will sit in. I then sand all of the pieces up to 220 grit, prime and paint. The shiplap comes pre-primed and receives a different color paint to the shelves. Once everything is prepped I begin the install, mounting 2×2’s level on the wall that will hold the shelves. It’s important to leave space in both corners to be able to run the lights through the corners. I then run the wiring for the lights and get it prepped. Next I cut the shiplap and nail all of that to the wall. Once it’s all in place it’s time to add the top and bottoms of the shelves. I hide the wires and extra lights behind the shiplap and add the cover to the lights which also helps cover the areas where it goes between the shelves. The final step is to glue and pin nail the face frames to the shelves. The pin nails really just hold the faces in place until the glue can dry. A little caulk and some touch up paint and this project is good to go!
Discover more from CRAFTED IN FLORIDA
Subscribe to get the latest posts sent to your email.
