
Crafted In Florida
Build Recap

The Process
The Design
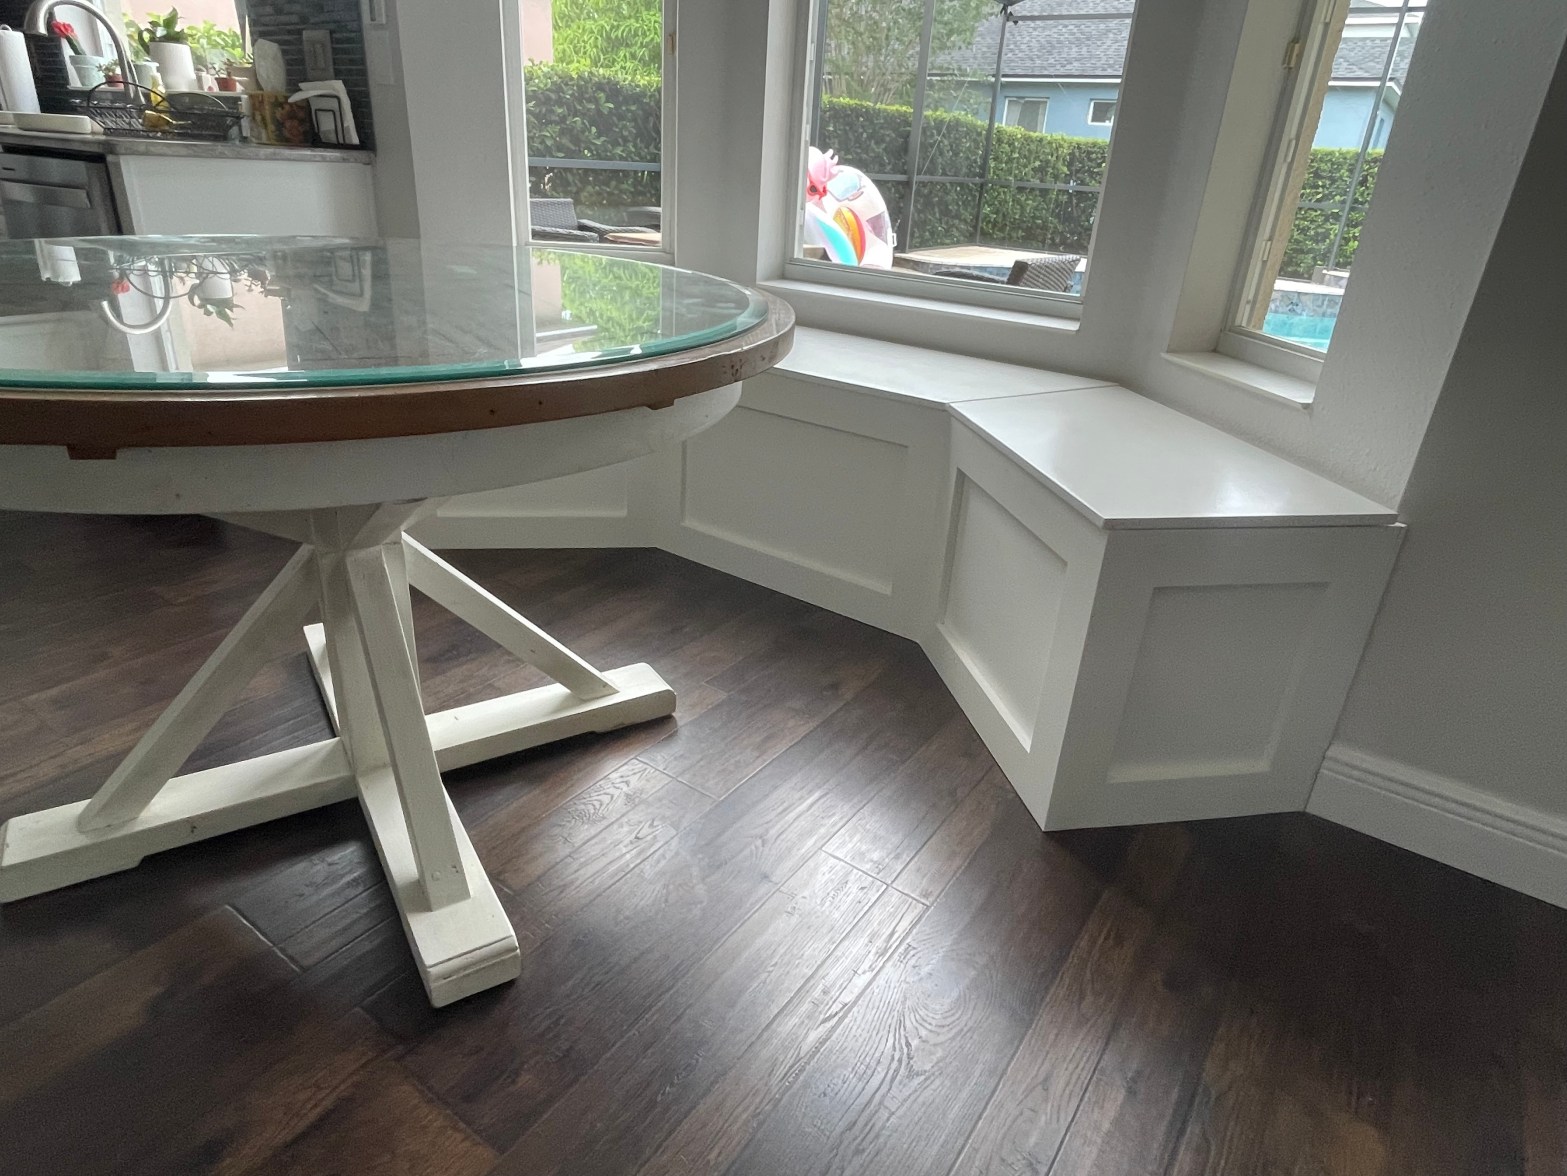
The built in bench is classic design, especially in a kitchen nook it just seems right. This customer wanted to fill their little nook with a built in bench that doubled as storage. The client liked the idea of the shaker style front and because they plan on adding a cushion to the top we just went with the plain white top rather than the wood stained stop. The piece will be underneath the 3 windows in the nook and used as additional seating at their existing dining room table.

The Build
The build began with building the box. The box this time was built to sit just above an outlet that was on the wall and would fill the 3 walls perfectly. The angles are 45 degrees and that means that the mitered cuts on the joints for the boxes would be at 22.5 degrees. I achieved these cuts using a track saw to cut that angle and was able to touch it up with the table saw once it was a manageable size. I cut all of the pieces of the carcass and then cut some support pieces for the bottom and to help stabilize the box.
Once the box was assembled it was time to work on the trim. The trim started with the top of the box. The face frame of the box that would hold the bench tops had to be strong and fit the angles correctly. The front portion of the face frame would be flush with the front of the box and the sides are also flush with the outside of the box. All of the face frame pieces are glued and pocket hole screwed in place, the pocket holes are covered by the shaker style design. With the shaker style look I built each of the five front facing frames separately. I then attached the 2 side pieces to their connecting forward facing frames with glue and pocket holes as well so that the joint would look seamless after sanding. The middle frame was attached to the box with and then the two joined pieces were added to complete the look.
The top for this box was built with plywood and poplar for the edge banding. I first cut some oversize pieces and laid them on top of the box to be able to mark the angles for each of the 3 top pieces. Using a track saw I cut those angled pieces, being sure to leave some space for the edge banding. For a trick to attack the edge banding without any clamps or nails check out the video below. Once everything was sanded down it was time for paint and install.
Discover more from CRAFTED IN FLORIDA
Subscribe to get the latest posts sent to your email.
