
Build Recap
The Process
The Design
For this one, the design process was guided largely by the materials that I had. I used some scrap pieces from a few previous projects, consisting of walnut, maple, and white oak. When I saw how long the walnut piece was I figured that it would make a good handle to use as a serving board. I had some skinny cut offs of maple that I thought would be nice on either side of the handle, and then a fairly wide piece of white oak that I planned to cut into pieces. At the last minute I thought it would look nice to run a skinny piece of white oak between the maple strips to give it a more defined look.

The Build
Now that I had figured out the design of the piece, it was a fairly simple process from there. The first step was simply to rip the pieces to size. I trimmed the walnut down to the appropriate width and then did the same for the white oak. The slight difference for the white oak was that I wanted to the grain to line up all the way across like it was one piece even though they’d be separated, so I cut the outside piece first, then adjusted the fence for the two wider sections, then returned it to the same width for the final outside cut. Now with all the pieces ripped to the right size, I was sure to leave them long, it was time to simply glue it all together. I like to set the clamps up and then line all the pieces in the clamps as they are going to be in the final piece. I then turn all the boards on their sides in the same direction, this is so that when I flip them all back over I know that I have the piece I want as the top all facing the top. I then apply a healthy amount of glue and spread it over everything. Then simply turn everything back right side up and clamp together. This would probably be ready in a few hours, but I like to go ahead and let it sit overnight.
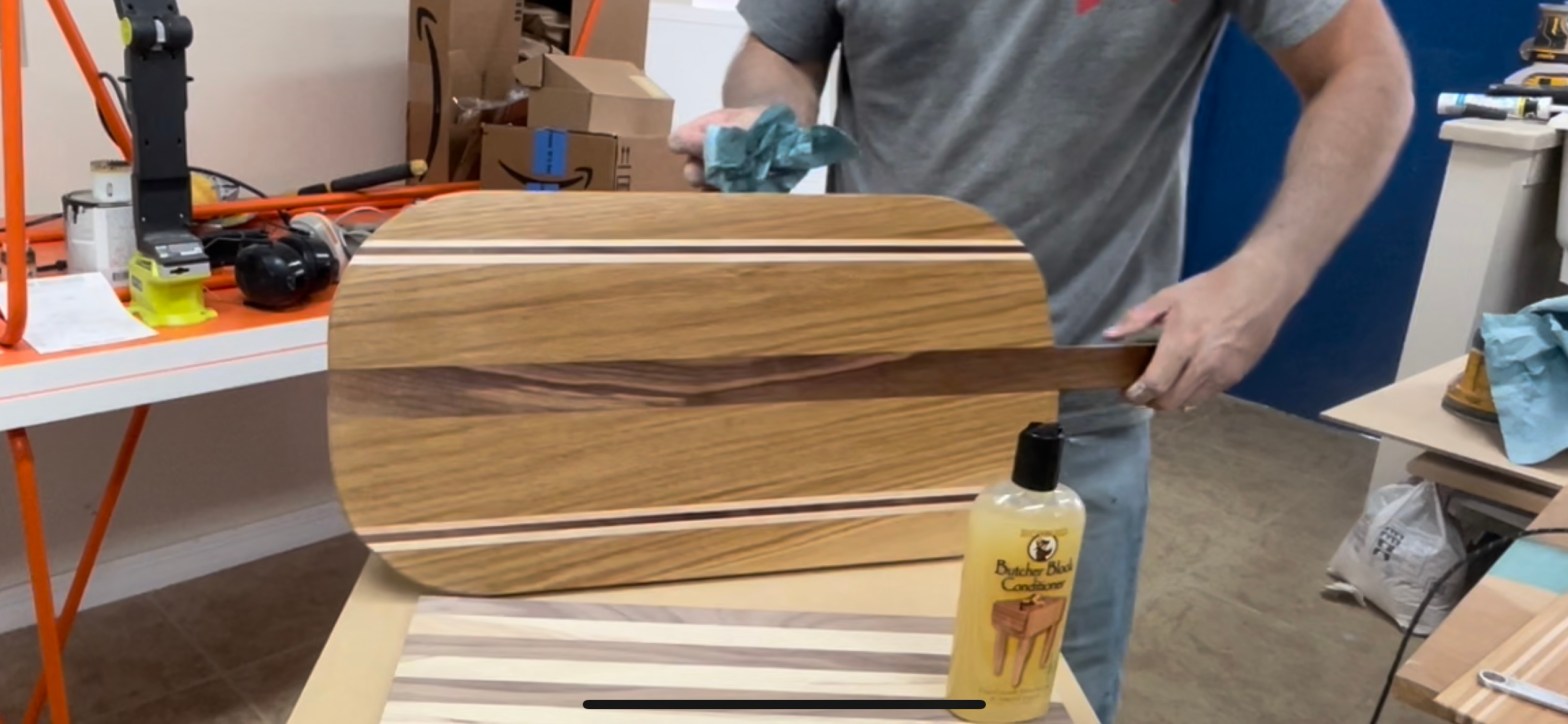
From there it’s over to the planer, where I run the board through several times to get a nice flat smooth surface. After about 6-8 passes and with two smooth faces I took the piece to the miter saw to get straight clean edges on both ends. Then I completely negated that by breaking out the jig saw and cutting the boards to give me curved corners and a curved handle. Then it was simply time to sand, I worked from a low grit of 80 up to about 150, after the 150 I took an ⅛” roundover bit and went over all the sides top and bottom. I then sprayed the piece down with water. Spraying the piece before the final sanding allows for the grains in the wood to stand up before hitting it again with the sander, this will produce a smoother finish when applying your finishing product. I then added an ⅛” roundover, and then proceeded to work through the grits up to 320. Now that the surface was smooth, it was time for finish. Because there is a high likelihood of food being set directly on the piece I wanted to use a finish that was definitely going to be food safe. I went with a beeswax based butcher block conditioner. I simply poured a little on the board and took one paper towel and rubbed it in, moving across the board in a circular fashion being sure cover the entire board, then after letting it sit for a couple minutes I wiped off the excess. I gave it a little time to dry and then did the backside. I did this twice and was left with a beautiful serving board.

Discover more from CRAFTED IN FLORIDA
Subscribe to get the latest posts sent to your email.
